Revive Your Rootbound Friend: The Ultimate Repotting Guide
Give your beloved houseplant the space it needs to thrive with this easy-to-follow repotting process.
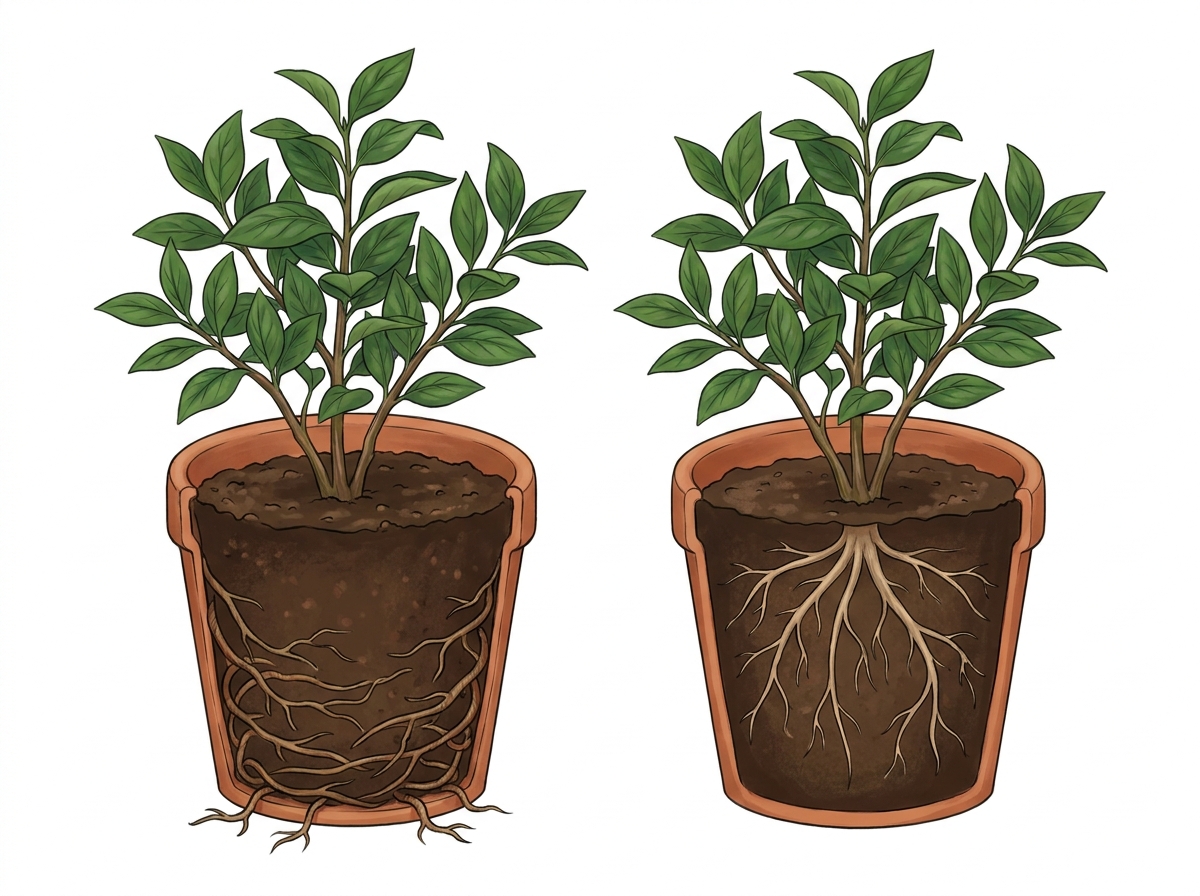
Is your plant looking a bit cramped? Signs like roots peeking out of the drainage holes, water running straight through the pot, or stunted growth are clear indicators that it's time for a repot. Don't worry, it's a straightforward process that will make a world of difference to your plant's health.
When to Repot?
- Roots circling the inside of the pot or growing out of drainage holes.
- Water drains through the soil almost immediately after watering.
- The plant dries out much faster than usual.
- Stunted growth or yellowing leaves, even with proper care.
- The plant seems top-heavy and easily tips over.
Choosing the Right Pot
Selecting the next pot size is crucial. Aim for a pot that is only 2-5 cm (1-2 inches) larger in diameter than the current one. Going too big can lead to overwatering issues, as the excess soil will hold too much moisture, potentially causing root rot. A pot that's too small will continue to restrict root growth. Ensure the new pot has adequate drainage holes.
Compost Choice
For most houseplants, a good quality, peat-free potting compost is ideal. Look for a mix that offers good drainage and aeration. If your plant prefers specific conditions, like succulents or orchids, opt for a specialised blend formulated for those needs.
The Repotting Process: Step-by-Step
- Water your plant thoroughly a day or two before repotting. This helps the soil ball slide out more easily.
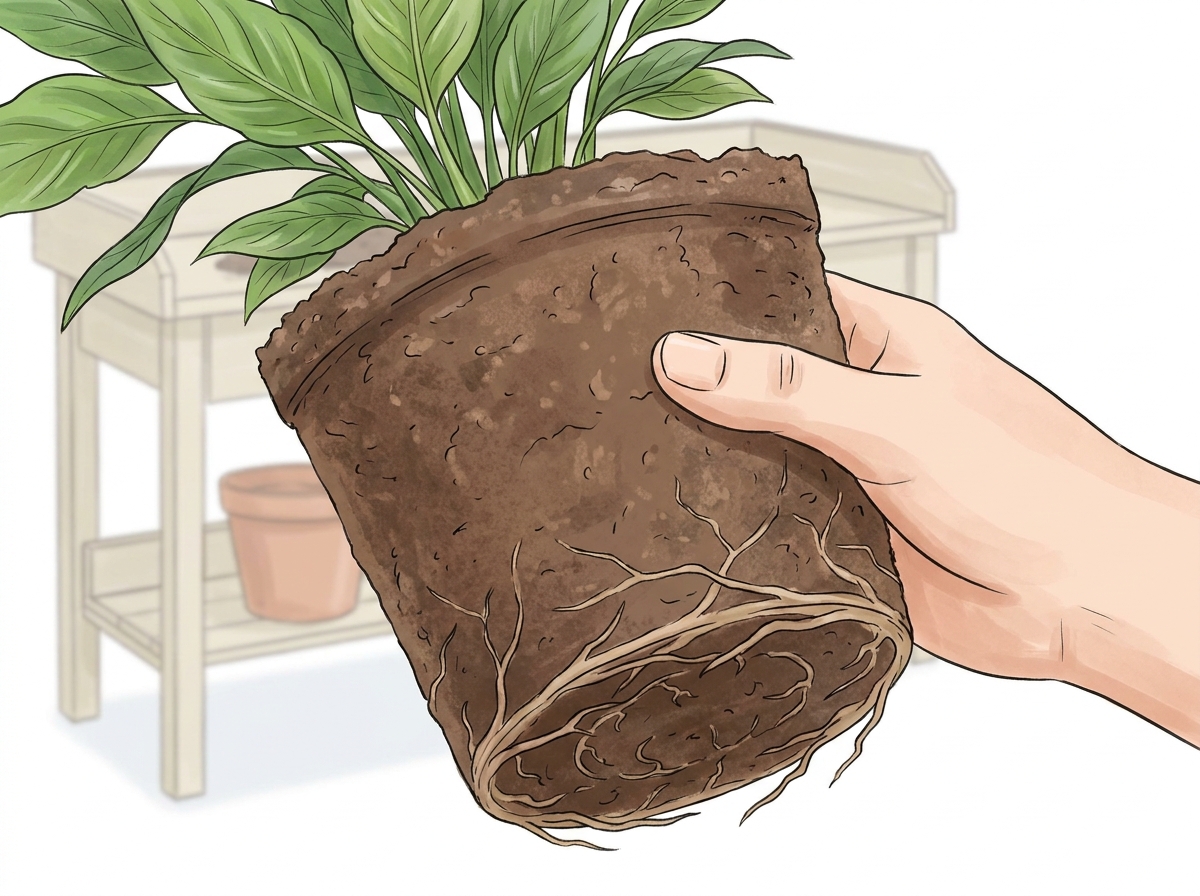
- Gently tip the plant on its side and ease it out of its current pot. If it’s stuck, tap the sides of the pot or gently run a knife around the inner edge.
- Inspect the roots. If they are tightly circled around the base (rootbound), gently tease them apart with your fingers or a blunt tool. You can trim any overly thick, circling roots carefully.
- Place a layer of fresh compost in the bottom of the new pot.
- Position your plant in the centre of the new pot, ensuring the top of the root ball is about 2-3 cm (1 inch) below the rim.
- Fill in the gaps around the root ball with fresh compost, gently firming it down as you go. Avoid compacting it too much.
- Water the plant thoroughly after repotting until water runs from the drainage holes.
The Aftercare Fortnight
For the first two weeks after repotting, keep your plant in a location with bright, indirect light and avoid direct sun. Hold off on feeding during this period, as the plant needs time to adjust and establish its roots in the new soil. Water only when the top inch (2.5 cm) of soil feels dry. This period of gentle care helps your plant recover from the transplant shock and begin to grow vigorously.
Be careful when using knives or tools to loosen roots; always cut away from yourself. Ensure good ventilation when working with compost, especially if you have respiratory sensitivities.