
Mastering the Whip-and-Tongue Graft: Precision and Patience for Fruit Tree Propagation
An advanced guide to achieving successful fruit tree grafts, from optimal timing and scion selection to meticulous aftercare and training.
Rootstock Selection and Scion Wood Preparation
The success of a whip-and-tongue graft hinges on judicious rootstock selection and the quality of scion wood. Rootstocks are chosen based on desired vigour, soil adaptability, disease resistance, and ultimate tree size. Compatibility between rootstock and scion species is paramount; while some interspecific grafting is possible, generally stick to grafting within the same genus (e.g., apple onto apple, pear onto pear).
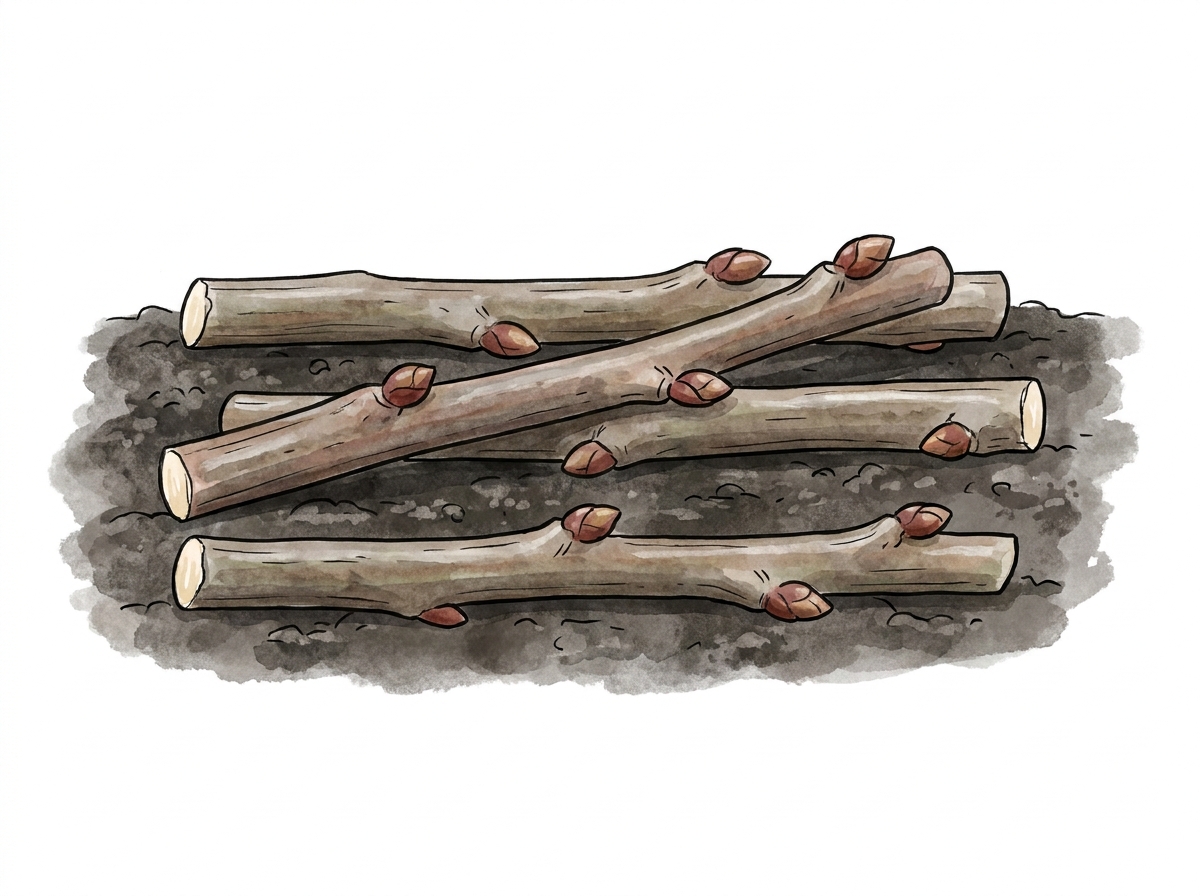
Scion wood must be collected during the plant's deepest dormancy, typically in late winter, before bud swell. Ideal scion wood is pencil-thick (5-8mm diameter), straight, and from the current season's growth, possessing at least two or three healthy, well-formed buds. Avoid wood with signs of disease, insect damage, or frost injury. Once collected, store scion wood in a cool, humid environment, such as a polythene bag with slightly damp sphagnum moss or paper towel, refrigerated at 1-4°C (35-40°F).
Timing and Grafting Procedure
The optimal window for whip-and-tongue grafting is typically late winter to early spring, just as the sap begins to rise in the rootstock but before bud break. This timing ensures the rootstock is physiologically active, promoting rapid healing and union formation, yet the scion remains dormant, preventing premature shoot growth that could dehydrate the cutting.
- Select a rootstock of appropriate diameter, ideally matching the scion wood (5-8mm). Ensure it is healthy and free from disease.
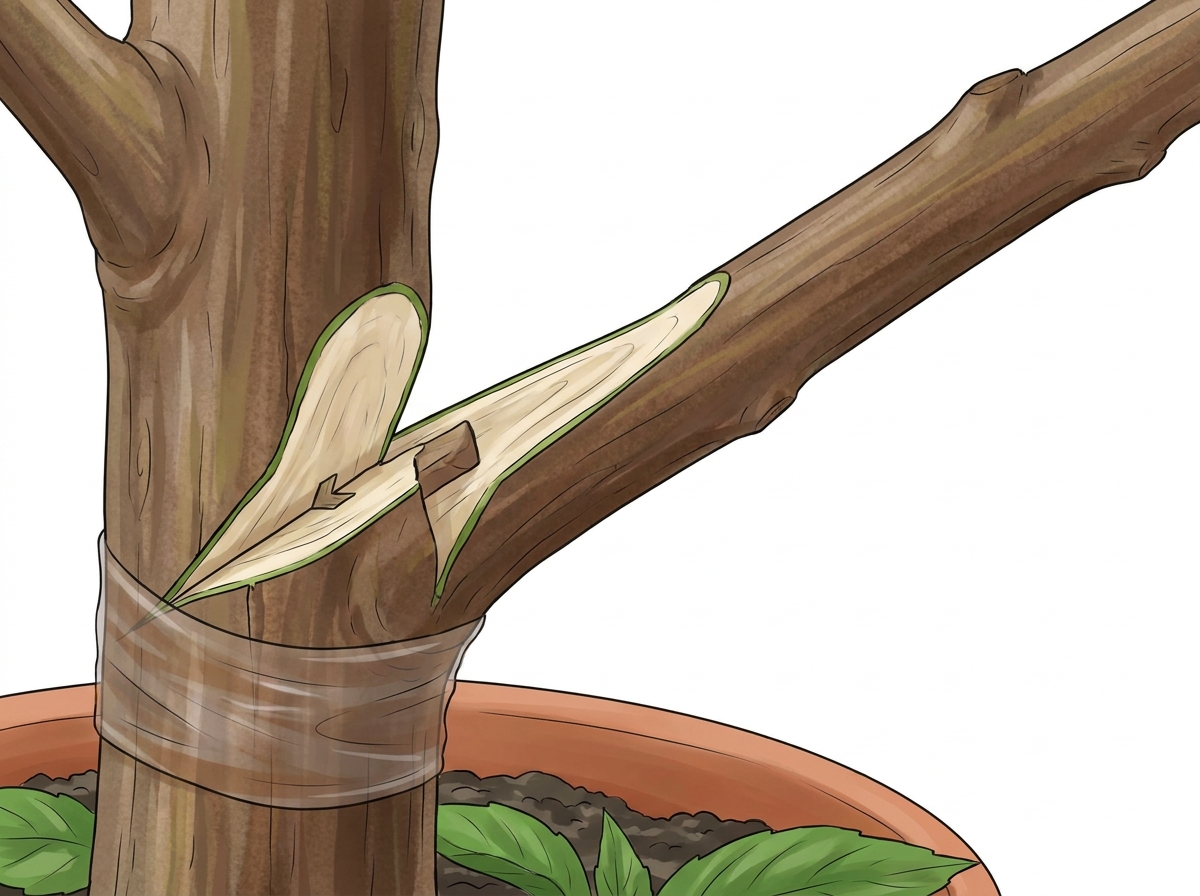
- Make the initial cut on the rootstock: a clean, sloping cut approximately 2.5-4cm (1-1.5 inches) long, starting from just above a bud and sloping downwards away from the bud.
- On the scion wood, make an identical sloping cut at the base, ensuring the lengths of the cuts match precisely.
- Create the 'tongue': From the point where the sloping cut ends on both the rootstock and scion, make a vertical cut about 1-1.5cm (0.5 inches) deep, parallel to the grain of the wood. This creates the 'tongue' that will interlock.
- Interlock the cuts: Carefully fit the scion's tongue into the rootstock's notch. Align the vascular cambium layers on at least one side. Perfect alignment is critical for a successful union.
- Secure the graft: Wrap the union tightly with grafting tape or strips of polythene. Begin wrapping below the union and work upwards, ensuring complete coverage to prevent desiccation and exclude air and moisture.
- Seal the graft: Apply a specialised grafting sealant or wax over the entire wrapped union, paying particular attention to the cut tip of the scion and any exposed cambium. This further protects against drying and disease ingress.
Sharp grafting knives and secateurs are essential for clean cuts. Exercise extreme caution to avoid injury. Grafting sealants may contain chemicals; always follow manufacturer instructions for safe handling and application. Ensure adequate ventilation when using sealants.
Aftercare and Training
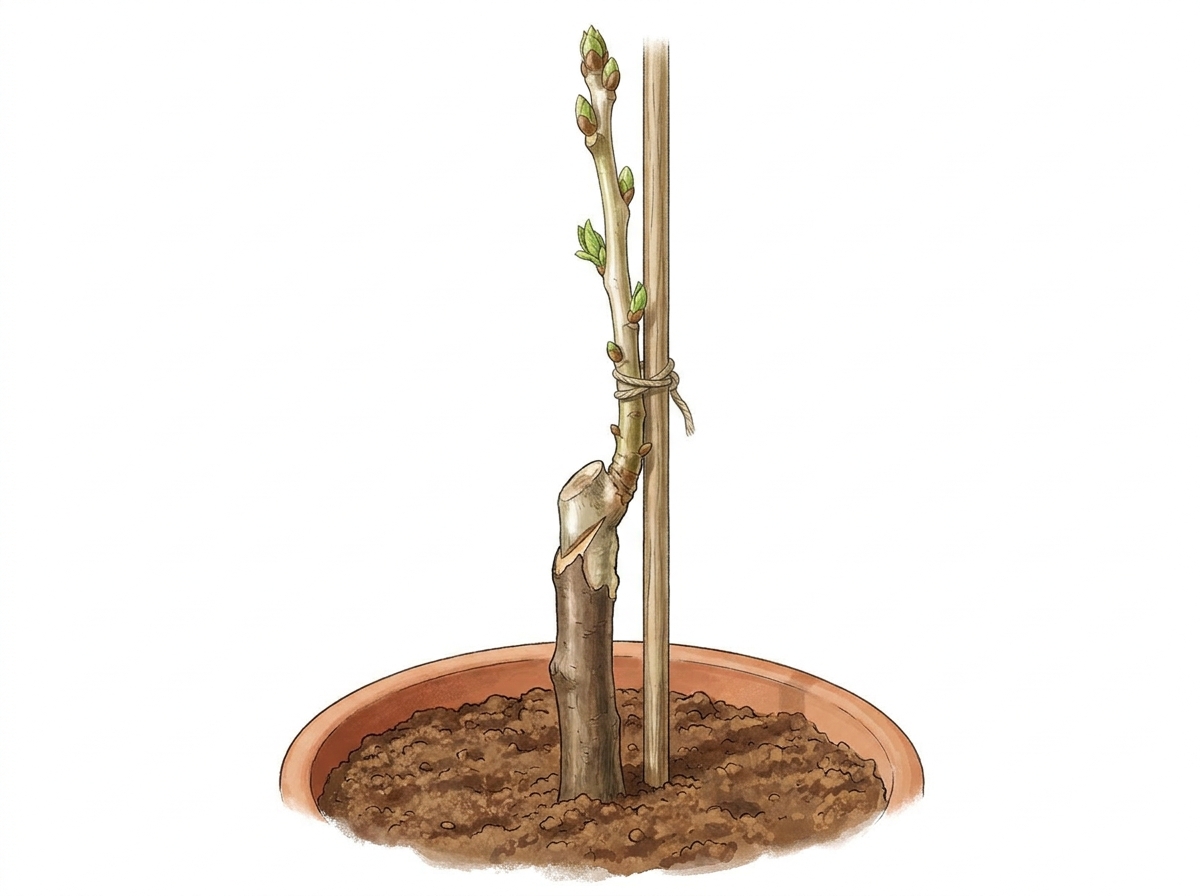
Post-grafting care is vital for union success. Monitor the graft regularly. A successful union is indicated by swelling at the graft line and the scion buds beginning to swell and eventually sprout. This typically occurs within 4-8 weeks, depending on species and conditions.
Remove any shoots or 'suckers' that emerge from the rootstock below the graft union. These will compete for resources and can weaken or kill the scion. If multiple scion shoots emerge, select the strongest one and remove the others to direct energy into a single, vigorous leader.
The grafting tape can usually be left on to degrade naturally or removed once the union has visibly callused and strengthened, typically after several months. Be careful not to damage the new union when removing tape. In the first two seasons, train the new growth to establish a strong framework. Stake the young graft if necessary to ensure it grows upright and to prevent wind damage.
Continue to monitor for any signs of graft incompatibility or disease. Protect the young tree from pests and harsh weather conditions. Proper training in these initial years will set the foundation for a productive and long-lived fruit tree.