
Harden Off Your Seedlings: The Secret to Outdoor Success!
Transition your tender young plants from indoor comfort to the great outdoors without a shock. Learn the science, the steps, and how to spot trouble.
So, you've nurtured your seedlings under grow lights or on a sunny windowsill, and they're looking lush. But don't rush them outside just yet! Young plants grown indoors lack the tough outer layers and acclimatised internal processes needed to survive direct sun, drying winds, and cooler temperatures. This process, called 'hardening off', is crucial. Skipping it is the number one reason seedlings fail when transplanted.
What Happens During Hardening Off?
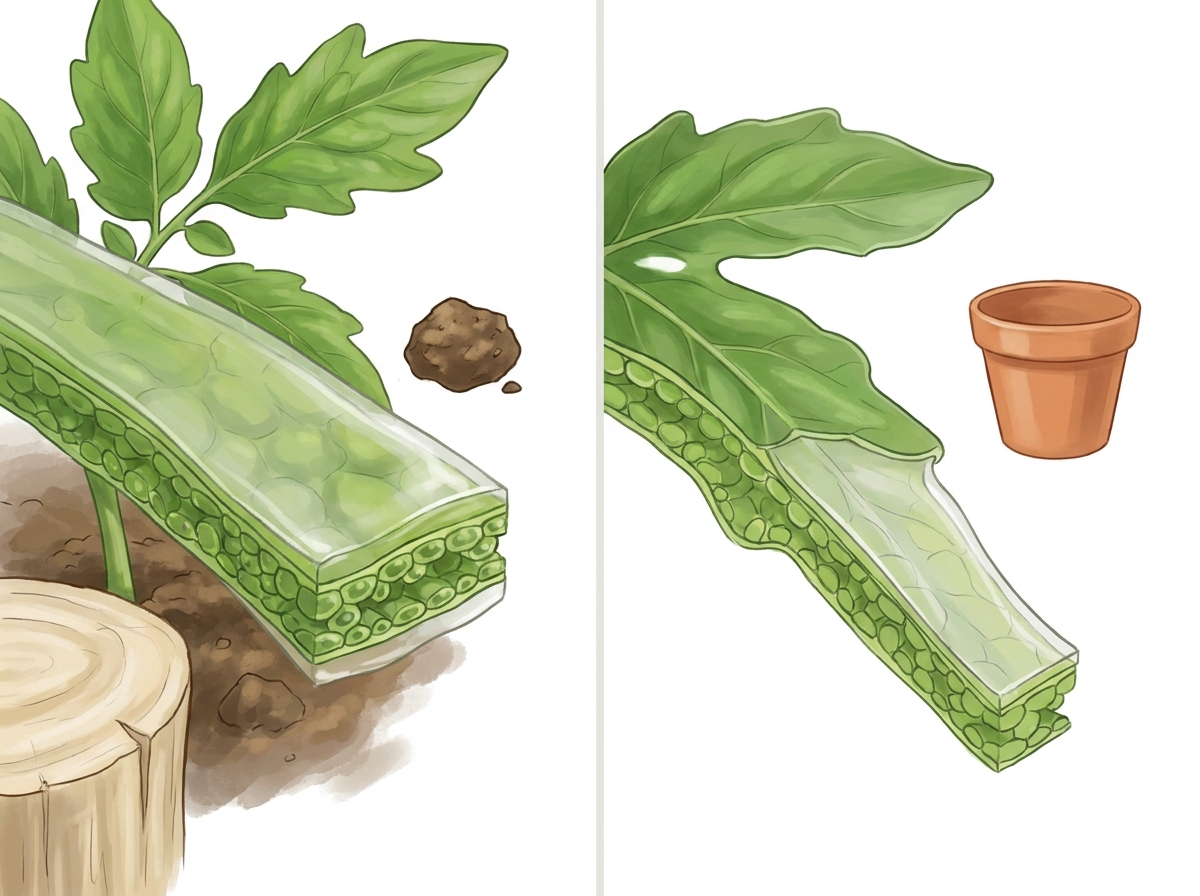
Plants grown indoors are essentially pampered. Their leaves have thin cuticles and stomata (pores) that are always open, ready for constant moisture and humidity. Hardening off gradually toughens them up. The plant's protective waxy cuticle thickens, making leaves less prone to drying out. Stomata learn to open and close efficiently in response to fluctuating outdoor conditions. Cell walls strengthen, and even the plant's internal chemistry adjusts to cope with cooler temperatures and stronger UV radiation.
Your Day-by-Day Acclimatisation Plan
Start this process about 7-10 days before you plan to permanently plant your seedlings outdoors. Begin after your last expected frost, once the soil is workable and the danger of hard freezes has passed. Always check the weather forecast and protect young plants if unexpected cold snaps or strong winds are predicted.
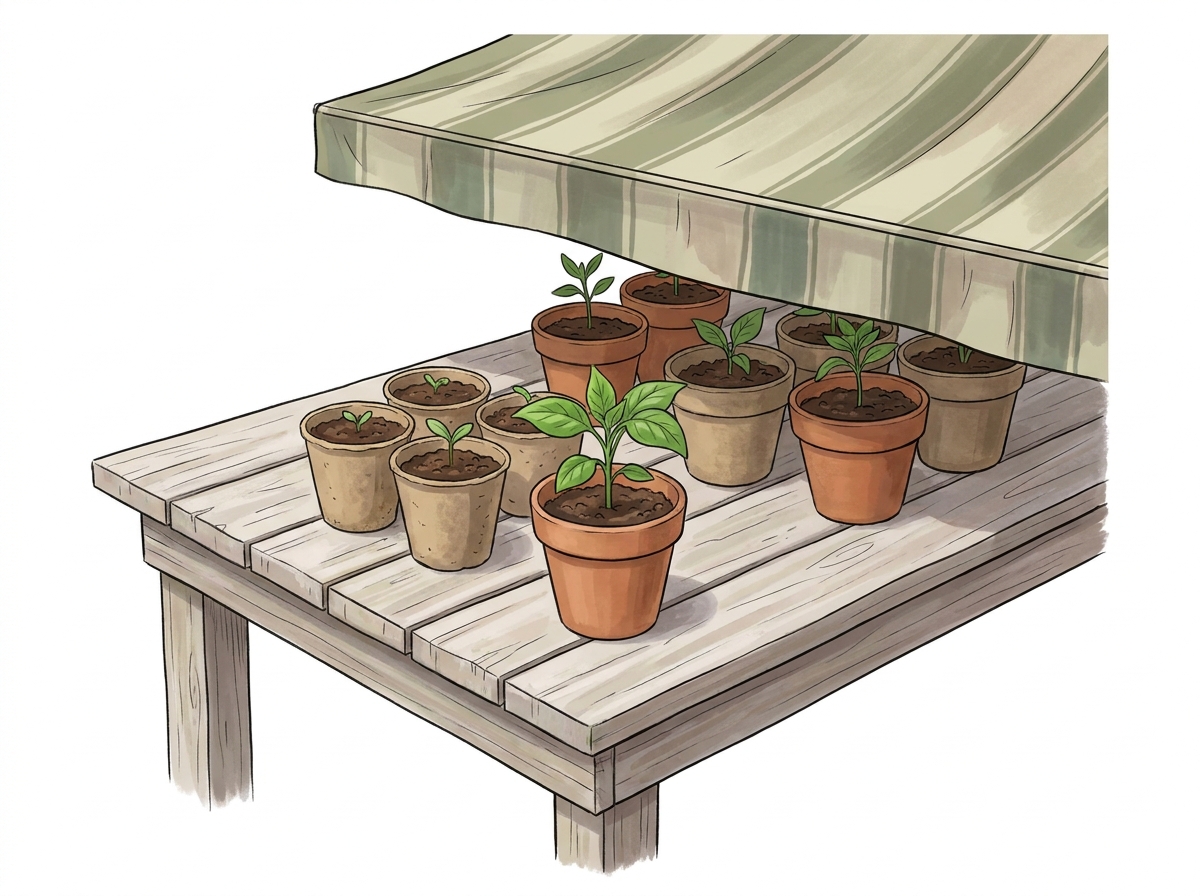
- Day 1-2: Place seedlings in a sheltered spot outdoors, out of direct sun and wind, for 1-2 hours. A porch, under a tree, or on the leeward side of your house works well. Bring them in at night.
- Day 3-4: Increase outdoor time to 3-4 hours. If conditions are mild and sunny, you can start exposing them to a little dappled sunlight for part of this time. Still bring them in at night.
- Day 5-6: Extend outdoor time to 5-6 hours. Gradually increase the amount of direct sunlight they receive. If temperatures drop below 10°C (50°F) at night, bring them in.
- Day 7-8: Leave seedlings out for most of the day, including dappled or morning sun. If night temperatures are consistently above 10°C (50°F), you can start leaving them out overnight in a protected location.
- Day 9-10: If seedlings are looking robust and have been spending nights outdoors, they are likely ready for planting. They should show no signs of wilting or stress.
Using Shelter and Cloches
For extra protection, especially if the weather is still a bit unpredictable or your plants are particularly delicate (like tomatoes or peppers), consider using temporary shelters. Cold frames or cloches are excellent for this. A cloche is simply a protective cover placed over a plant or group of plants. Initially, you might use a cloche with the vents closed or propped open slightly. As the plants acclimatise, you can gradually open the vents more or remove the cloche for longer periods, mimicking the step-by-step process described above.
Spotting Trouble: Wind Scorch and Cold Check
Even with careful hardening off, plants can show signs of stress. It's important to recognise these so you can adjust your process.
- Wind Scorch: This looks like sunburn but is caused by dehydration from wind. Leaves may turn yellow, brown, or papery, especially along the edges and tips. The plant may wilt even if the soil is moist. This indicates the wind is too harsh for the plant's current level of acclimatisation.
- Cold Check: This is a general slowing or stopping of growth due to cold temperatures. Plants may look stunted, develop purplish tinges on leaves (especially on the undersides), or simply fail to perk up and grow. This suggests the temperatures are too low for the plant to thrive.
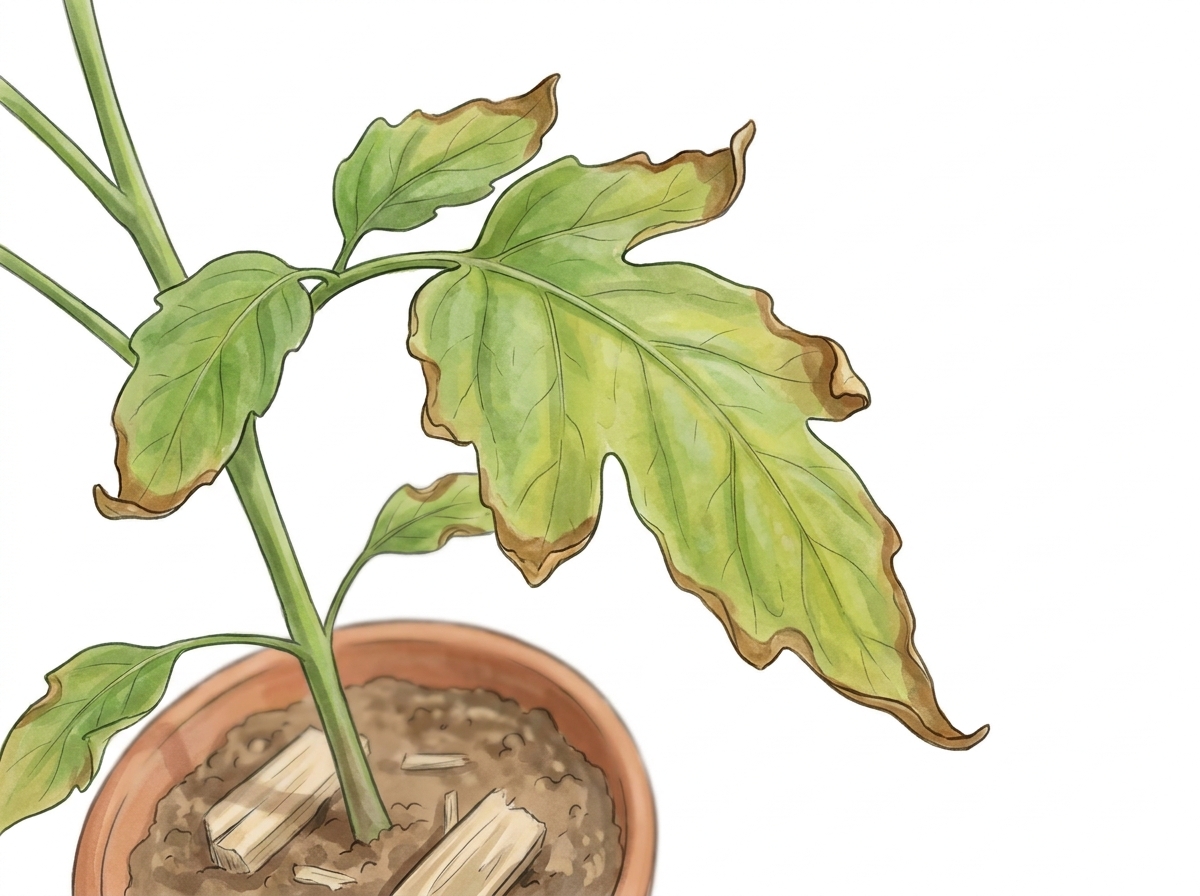
If you notice these symptoms, return the plants to a more sheltered spot, provide more shade, or bring them indoors for a day or two to recover before resuming the hardening off process at a gentler pace.
When using tools like secateurs or trowels, always handle them with care to avoid injury. If using cloches or cold frames made of glass, be mindful of breakages. Always ensure any temporary shelters are securely anchored to prevent them from blowing away in the wind.